Can You Upload File Directly From Pinnacle?
When it comes to creating flawless content, Superlative Studio ranks among the top video editors. Still, creating not bad videos can only get y'all and so far. Nowadays, there is so much content online that information technology's difficult to establish an audition. Captions and subtitles are a powerful manner to expand your audience and meliorate their viewing feel. Non just do they make your videos more attainable, but they as well dramatically amend your SEO. With that in mind, adding captions to your videos is a definite no-brainer for whatever creator.
In this guide, we will atomic number 82 y'all through all the steps needed to add captions and subtitles in Height Studio.
Getting Caption Files
Earlier you lot can first adding captions, y'all need an .SRT caption file for your video. Fortunately, you can speedily go one using the following steps.
1. Consign Your Project from Superlative Studio
First, open the Exporter by clicking on the Export tab at the top of the screen. In the Exporter, select File from under Consign Settings . This will salve your projection as a computer file which you can so upload to Rev, when ordering captions. Next, set up the File Destination and File Proper name.


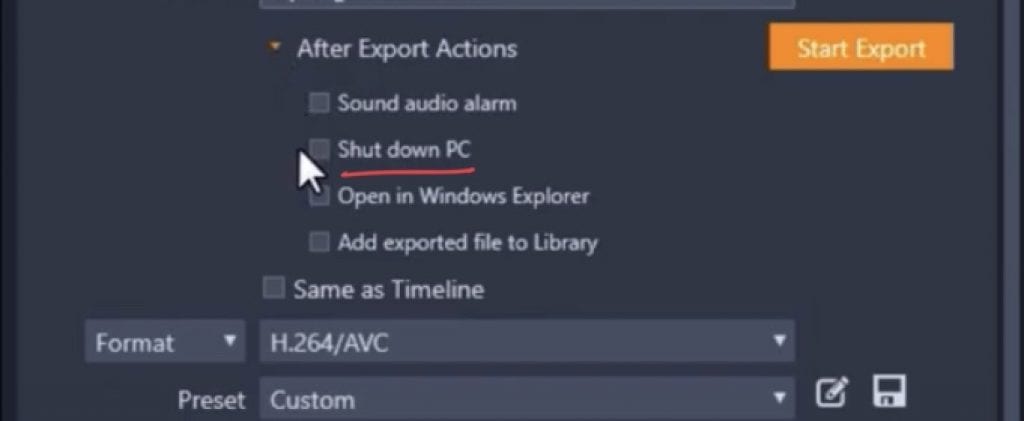
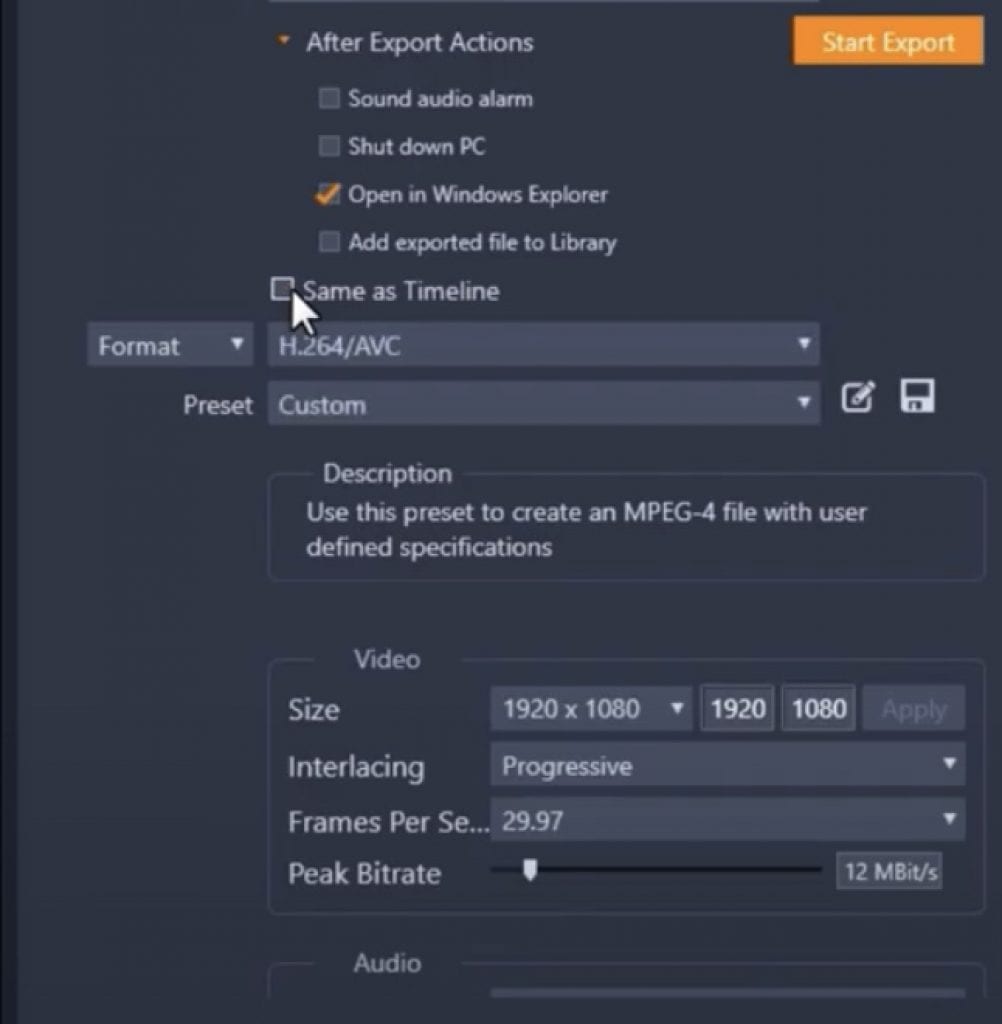
After that, check Same As Timeline to beginning exporting the project using the aforementioned settings as the timeline. Alternatively, you lot can set different export settings using the Format dropdown menu. Following that, utilize the Preset dropdown menu to select a preset or create your own. Finally, click on Beginning Export to export your finished project.
2. Get to Rev.com
One time your project has exported, become to Rev.com and select our captioning service. Then, select Get Started to brainstorm your order.

3. Order Your Caption File
At theOrder Captions page, select Upload Files and upload your project. Then, cull the caption file format from Output File Format(s) . Since .SRT caption files can be easily opened in a basic text editor, they are the best file format to choose. Withal, you lot tin can select a unlike file format depending on your specific software and goal. If you desire, you can also get strange language subtitles at this phase.

When you've finished filling in your social club details, bank check out your order. As soon as your captions are set up, y'all'll receive them in an email.
Can Yous Import Captions Direct into Pinnacle Studio?
Unfortunately, Pinnacle Studio does not allow you to import .SRT files directly into your timeline. Instead, y'all must utilise the Title Editor to manually add captions to your video. Withal, having the caption file and timestamps to reference will greatly speed up the procedure and reduce unnecessary hassle.
Copying Captions into Pinnacle Studio
As you now have your captions, you lot tin can start copying them into Pinnacle Studio.
ane. Open the .SRT Explanation File
Since .SRT caption files consist of just plainly text, they tin can be opened using any text editor. Offset, locate the file on your computer. Once you have constitute it, right click on it and so select Open With . From the dialogue box produced, select your preferred word processor. Typically, Notepad or WordPad are the all-time choices for the chore.
ii. Open the Title Editor
At present that yous have your .SRT file open for reference, it's fourth dimension to add your captions. Before you add them though, ensure that your video is on A/V Track (two). If yous add your captions to a rails that is beneath your video'due south track, they will not be visible. You tin easily change the club of your tracks by highlighting them with your mouse and then dragging them upwards or downwards
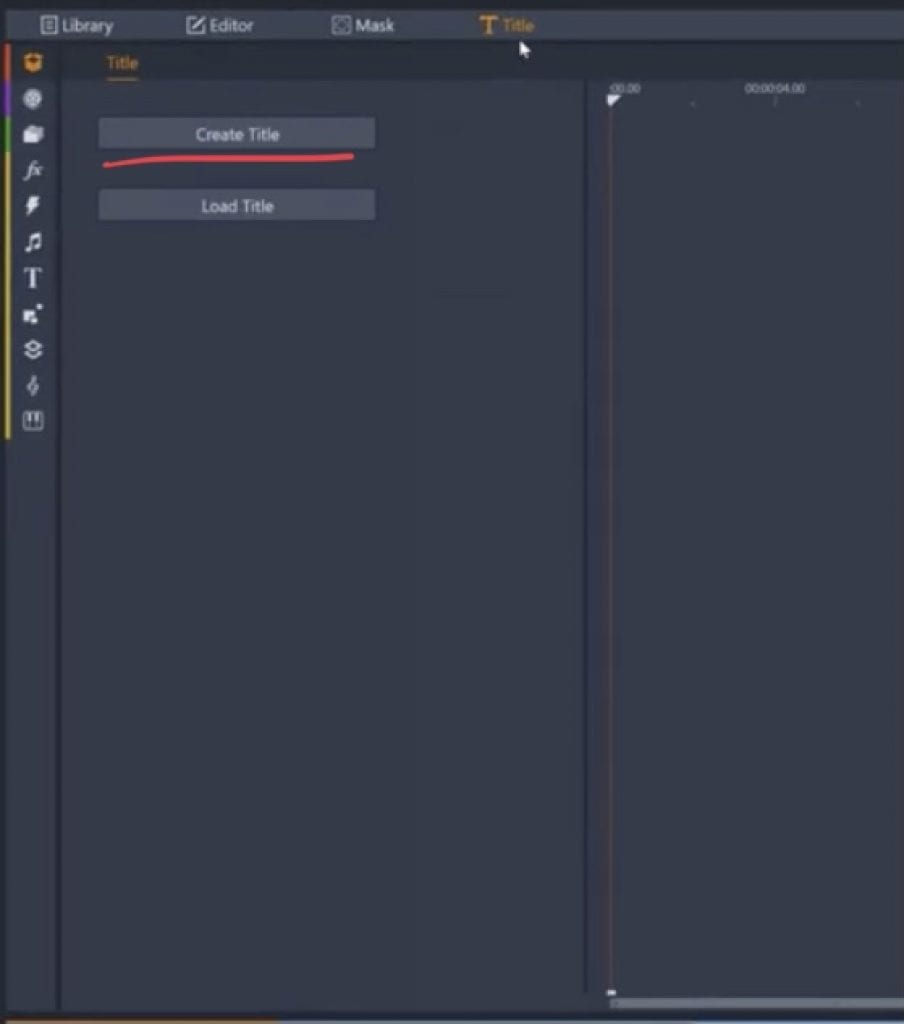
.When you're happy with the order of your tracks, select Title from the top card bar. Adjacent, click on Create Title .
3. Enter Text from the .SRT Caption File
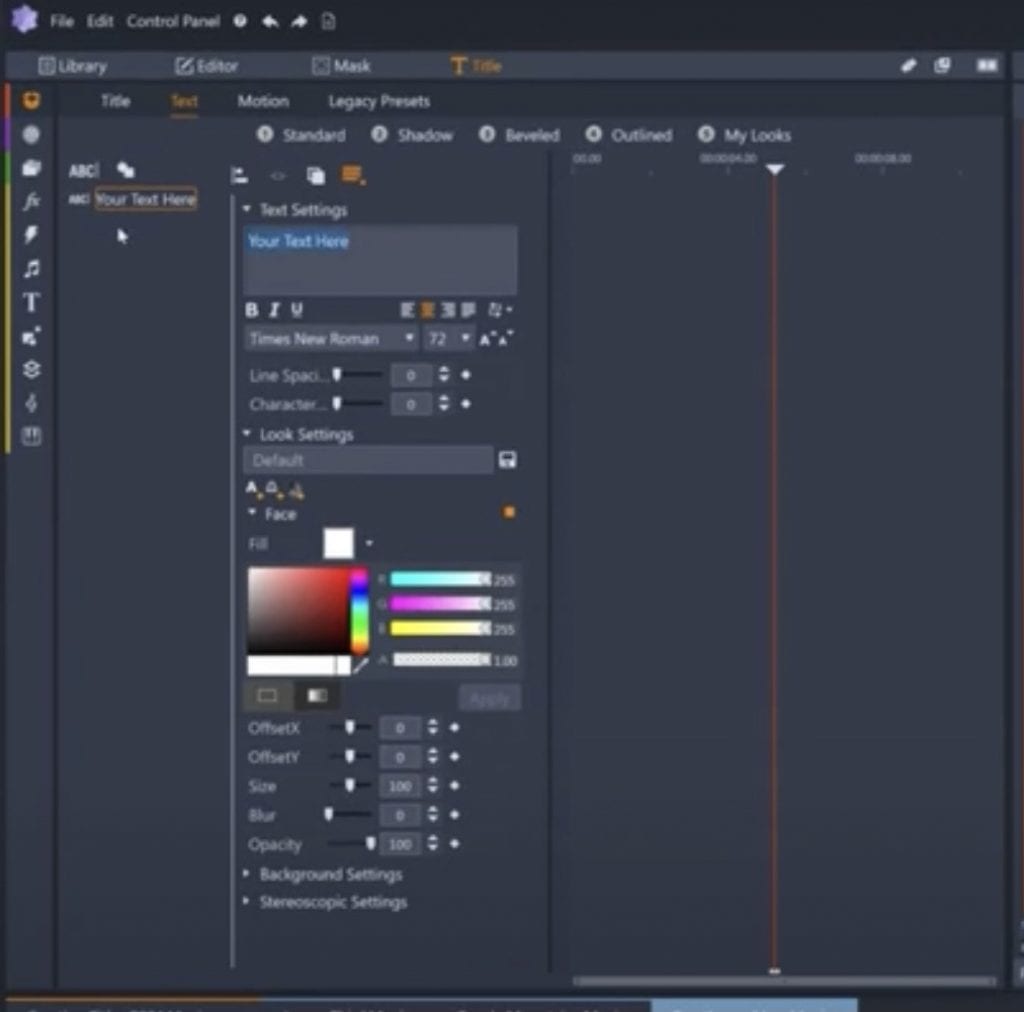
At this point, go back to your open caption file and copy a line. And then, navigate back to the Title Editor and paste the line into the text box underneath Text Settings . Next, elevate the title prune until it's the advisable length on the timeline. Hither, the timestamps on the explanation file volition be very useful.
4. Adjust the Appearance of the Captions
In one case you are happy with the caption's timing, y'all can get-go tweaking its advent. Select the caption on the timeline monitor and elevate it to wherever y'all want on the screen. To position the caption along the bottom, just drag the captions downwards. Post-obit that, set the font, color and size of your caption.
Repeat steps 3 and 4 until yous've finished adding all your captions. Once you are done, you lot tin export your project one time again. Every bit titles are rendered direct onto the video, you can follow the same process every bit earlier with little variation.
Pinnacle Captions Workflow
Congrats! You lot should now be able to add captions and subtitles in Summit Studio.
Although Acme Studio isn't the easiest program to caption in, Rev can brand the process much more straightforward. You tin become loftier quality captions direct from Rev from just $1.50/minute.
More captioning resources for video editing software
| Virtually popular | Add captions in Adobe Premiere Pro | Add captions in Final Cut |
| Professional | Add together captions in Avid Media Composer | Add captions in Davinci Resolve |
| Gratis tools | Add captions in iMovie | Add captions in Handbrake |
| More | Add together captions in Camtasia | Add captions in Flowplayer |
| More than | Add captions in Sony Vegas Pro | Add together captions in Lightworks |
| More | Add captions in Adobe Captivate | Add captions in Meridian Studio |
tunbridgerebt1953.blogspot.com
Source: https://www.rev.com/blog/resources/how-to-add-captions-and-subtitles-in-pinnacle-studio